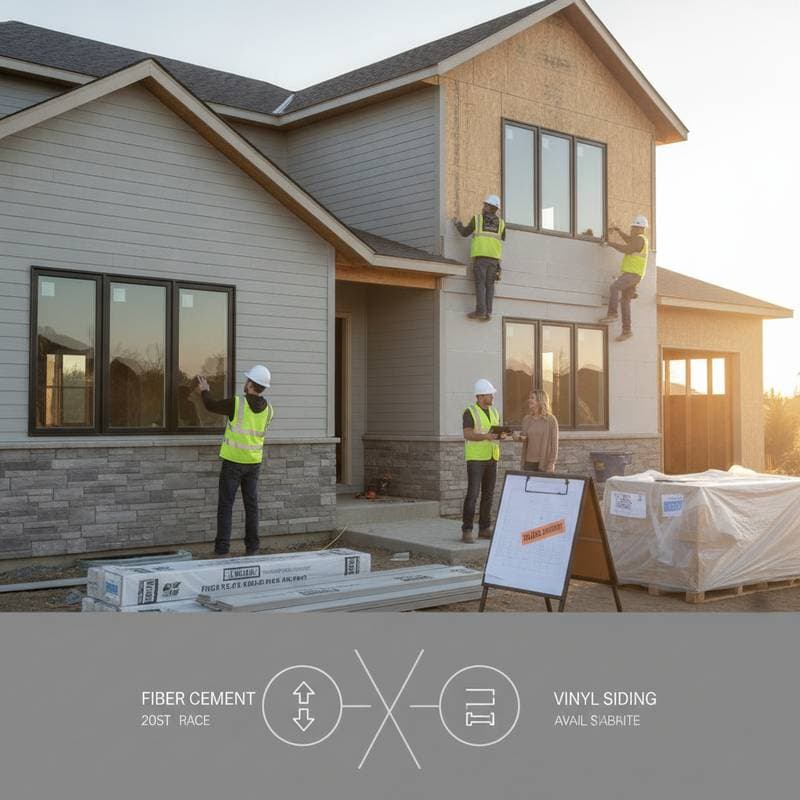
Fiber Cement Shortage Spurs Vinyl Siding Comeback
Supply chain disruptions have reshaped the siding market. Builders and remodelers who once favored fiber cement now turn to vinyl. The change stems from limited material availability, extended lead times, and higher freight costs. Homeowners must evaluate new options for installation timing and overall expense.
This guide outlines the causes of the fiber cement shortage and explains how vinyl addresses current needs. It details cost ranges, planning steps, style choices, and ongoing care. Each recommendation draws from observations by experienced installers.
Style and Selection Guidance
Core Profiles
Vinyl siding offers improved textures that resemble traditional materials. The primary profiles are:
- Clapboard: Horizontal boards with a gentle overlap that suit most suburban homes.
- Dutch lap: A beveled edge that creates a distinct shadow line.
- Board and batten: Vertical panels suited to farmhouses and contemporary structures.
- Shake and shingle: Panels that replicate wood shake for use on accent walls or gables.
Fiber cement continues to provide sharp edges and pronounced shadow lines. Vinyl alternatives now replicate these features with greater accuracy.
Material Comparison
Fiber cement offers fire resistance, rigidity, and a paintable surface along with an extended lifespan. It requires careful handling due to weight and moisture sensitivity at cut edges, plus periodic repainting. This option fits high end projects that must meet strict fire codes or historic guidelines.
Vinyl provides light weight, integrated color, low maintenance requirements, and rapid installation. It may warp near intense heat sources or crack under impact in cold conditions. This choice works well for midrange remodels, accelerated construction schedules, and projects with limited budgets.
Combining Materials
A balanced exterior can incorporate both products. Apply vinyl clapboard across main wall surfaces and reserve fiber cement panels for exposed gables or chimneys when stock permits. Use metal or PVC trim channels to create clean transitions. Install a proper flashing break between dissimilar materials to prevent moisture migration.
Trim and Accent Details
Vinyl trim arrives prefinished in coordinated colors. Align corners, J channels, and starter strips correctly to maintain water tightness. Fiber cement trim boards require caulking and painting after placement. Vinyl trim can pair with cement panels when color compatibility is acceptable.
Project Examples
- A starter home retrofit replaces faded fiber cement with insulated vinyl panels. Project costs decrease by approximately 30 percent and work finishes within one week.
- A lakeside cottage retains cement on the windward wall while vinyl shingles cover sheltered elevations. This approach balances durability with budget considerations.
- An urban duplex adopts vinyl board and batten after repeated delays in cement supply. The updated profile refreshes the appearance while satisfying local requirements.
Project Preparation Steps
Define Goals and Scope
Determine whether to await renewed fiber cement availability or proceed with vinyl. Consider local climate, insurance implications, and tolerance for maintenance tasks. Specify whether the work involves complete wall replacement or targeted repairs.
Select Contractors and Review Bids
Confirm that each contractor maintains active material accounts and current warehouse inventory. A dependable installer obtains product prior to demolition. Compare bids line by line, including trim specifications, insulation type, fastener placement, and disposal fees. Verify liability coverage and manufacturer certification. Crews experienced with both materials can adapt if supply conditions shift.
Review Samples and Obtain Approvals
Examine color samples outdoors under natural light. Request a mockup on a test section when mixing products. Approve nail patterns, overlap measurements, and flashing details before work begins.
Prepare the Site
Maintain a six foot clearance around all walls for equipment access. Protect landscaping and outdoor furnishings. Arrange daily removal of nails and debris. Establish work hours with the crew to minimize neighborhood disruption.
Conduct Quality Inspections
Examine sheathing after removal of existing siding. Replace any deteriorated sections before applying house wrap. Verify correct overlap and sealed seams. Midway through installation confirm level starter strips and properly driven fasteners. At completion inspect all trim joints for tightness and adequate caulking.
Maintenance Schedule
Quarterly Tasks
Walk the perimeter to identify loose panels or deteriorated caulk. Clear leaves and debris from weep holes.
Annual Tasks
Wash siding with mild soap and a soft brush. Examine corners and trim transitions for gaps. Check attic and wall spaces for moisture after significant rainfall.
Five to Ten Year Tasks
Replace brittle vinyl sections exposed to reflected sunlight. Repaint and recaulk fiber cement joints. Refasten any panels that have loosened from nailing slots.
Planning Your Siding Upgrade
Evaluate supply conditions and budget constraints before selecting materials. A well planned project delivers lasting protection and visual appeal while accommodating current market realities.