
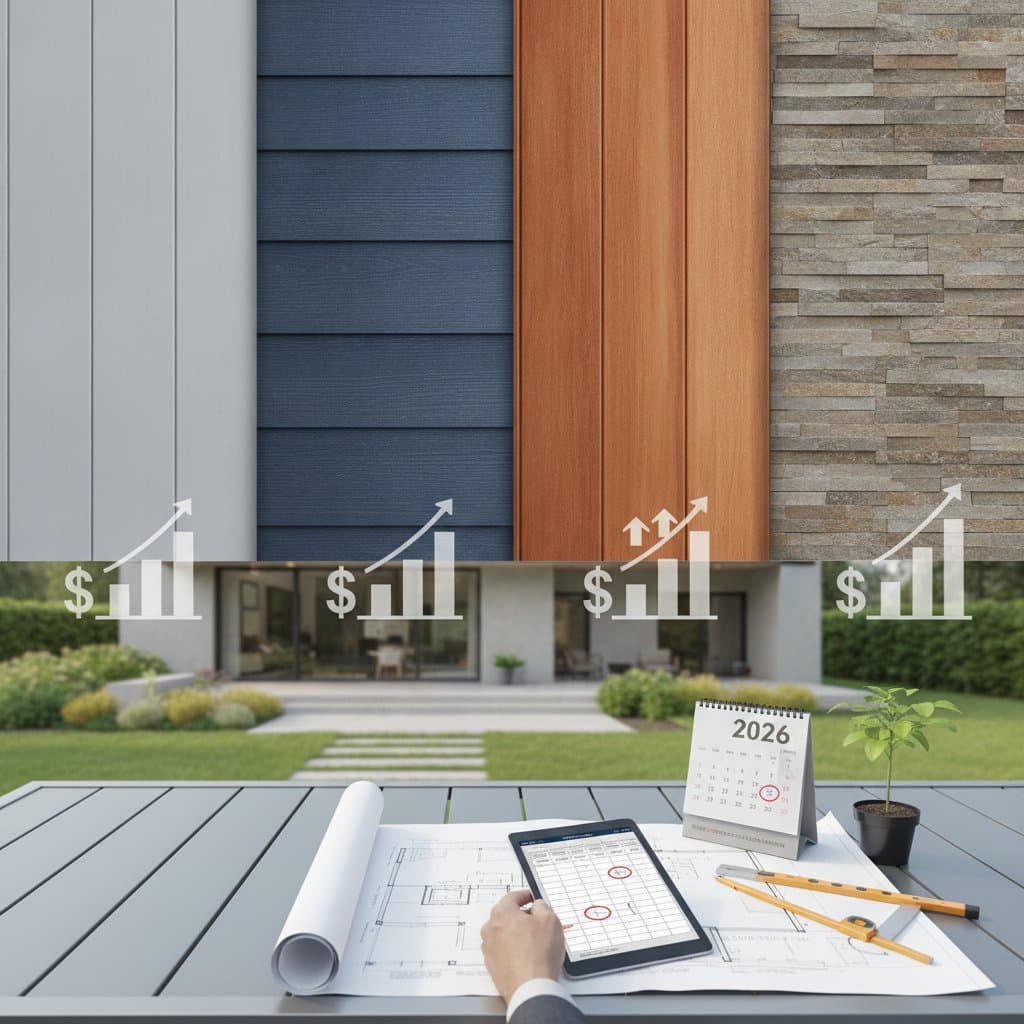
2026 Siding Costs: Compare Materials and Beat Inflation
Exterior siding prices shift with material costs, freight rates, and labor availability. Planning a siding project requires balancing price, quality, and timing before inflation increases expenses. This guide details expected spending, cost variations, and methods to maintain schedule and budget control.
Style and Selection Explainer
Siding creates the first impression while protecting the building envelope. Selecting the right profile and material involves evaluating appearance, climate performance, and maintenance requirements.
Core Profiles and Where They Fit
- Lap siding consists of horizontal boards that overlap and suits most traditional homes.
- Board and batten features wide vertical boards with narrow battens over seams and fits farmhouses or tall facades.
- Shingle or shake uses small panels that replicate cedar texture and adds detail to gables.
- Panel systems employ flat panels with metal trim joints and appear on modern or commercial style homes.
- Stone or brick veneer serves as accent material on bases, chimneys, or entry walls.
Mixing profiles adds depth when transitions receive proper flashing and sealing.
Material Options: Pros and Cons
| Material | Strengths | Weak Spots | Maintenance |
|---|---|---|---|
| Vinyl | Low cost, no painting required, wide color range | Brittle in cold weather, can warp with heat | Wash yearly with mild soap |
| Fiber cement | Fire resistant, stable under sun and rain | Heavy, requires painting every decade | Inspect caulk and paint edges |
| Engineered wood | Natural look, lighter than fiber cement | Must remain sealed, edges vulnerable to moisture | Repaint every 8 to 10 years |
| Natural wood | Authentic grain, renewable source | Prone to rot and insects | Seal or stain every 3 to 5 years |
| Metal (steel or aluminum) | Rigid, fire safe, recyclable | Can dent, color touch ups prove difficult | Rinse twice a year |
| Stone veneer | Very durable, high curb appeal | Expensive, heavy | Inspect mortar joints |
Mixing Rules for Balanced Facades
- Apply one dominant horizontal cladding paired with one accent material.
- Position transitions at natural breaks such as gables or floor lines.
- Match trim thickness across materials to prevent shadows or gaps.
- Limit total colors to three including trim and accent.
Trim and Accent Logic
Trim frames windows, corners, and doors while hiding cut edges and sealing joints. Select PVC or metal trim in wet climates and fiber cement or wood trim in drier zones. Wider trim suits traditional homes while narrow profiles fit modern designs.
Example Scenarios by Home Type
- Ranch homes pair horizontal vinyl or engineered wood lap siding with brick veneer at the base.
- Two story colonial homes use fiber cement lap siding with contrasting shutters.
- Modern cube designs incorporate metal panels with cedar accents for warmth.
- Cottages feature shingle style fiber cement with white PVC trim.
Step by Step Project Prep
Replacing siding extends beyond a single trade task. It requires design choices, scheduling, and coordination among suppliers and inspectors. A structured plan reduces surprises.
1. Define Goals and Scope
Write a short statement of project objectives such as improved insulation, updated style, or reduced upkeep. Decide whether trim, soffits, and gutters fall within scope. Calculate wall square footage by multiplying perimeter by height then subtracting windows and doors.
2. Shortlist Contractors and Compare Bids
Request the following from each contractor. Proof of license and insurance. References from similar homes. Written scope that includes materials, fasteners, and wrap. Duration and start date. Payment schedule tied to milestones. Compare bids line by line since a low number that omits trim or wrap does not represent a bargain.
3. Samples, Mockups, Approvals
Order color chips and small panel samples. Some suppliers provide on site mockups that display lap spacing and trim junctions. Approve these before installation begins. Confirm all materials come from the same production batch to maintain color consistency.
4. Site Readiness and Daily Routine
Clear driveways for delivery trucks. Protect plants with breathable tarps. Expect noise and dust during work. Crews require electrical outlets and a disposal area. Daily cleanup prevents nails and debris from causing injury.
5. Quality Checks at Each Milestone
After removal confirm wall sheathing remains dry and sound. After wrap verify continuous coverage and taped seams. During mid install review pattern alignment and fastener spacing. On the final day check caulking, trim joints, and paint touch ups. Document each stage with photos to support warranty claims and resale records.
Living with Your Cladding
Monitor local code updates that affect fire ratings and water barriers. Small adjustments in fastening or clearance rules determine whether a warranty remains valid. Treat the home envelope as an integrated system rather than an isolated surface.
Protect Long Term Value
Schedule material orders and contractor selection during stable pricing periods. Consistent maintenance preserves appearance and structural integrity while supporting property value over time.