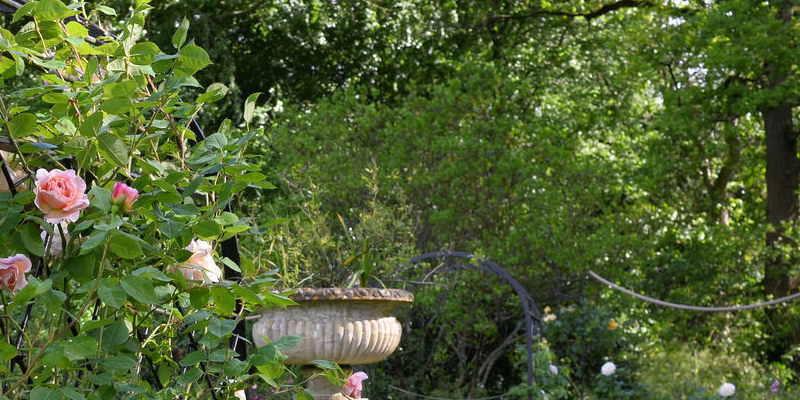
Phlomis russeliana, additionally called Jerusalem sage, is a perennial featuring whorls of of sunshine yellow flowers on long stalks above big, heart shaped leaves. Phlomis grows in to 3-foot-wide by 3- foot crops that are tall, making it an effective weed barrier. Because deer donât graze on phlomis, itâs also an ideal plant to include colour and greenery to your own landscape with no threat of being consumed. You require several tools and proper timing to propagate phlomis effectively.
Plan to propagate your phlomis plant in both the spring (when new development is starting) or in the drop (before the plant’s growth slows for the time). Notice the locations of the soil that drop immediately below any leaves or stems and walk round the perimeter of the plant, known as the drip line.
Push the blade of a shovel to the soil 3 to 4 inches deep every one of the way across the plant. Dig down in the drip line markings up to 10″ deep, and perform the shovel toward the middle of the phlomis plant. Until the whole phlomis is detached in the floor continue digging.
Raise the plant in the hole youâve developed and established it to the floor beside the hole. Knock off any extra dirt from the roots so your roots are obvious, using your fingers or a hand trowel. Hose off the root ball, if preferred.
Inspect the roots of the phlomis to appear for the runners that link the various parts of of the plant. Cut the runners using a knife to to split up the sections, as you untangle the roots and relieve the part that is eliminated in the parent plant. Repeat as required to eliminate more sections in the plant.
Plant the eliminated sections where soil is -draining, but in addition moist, within an area of partial sunlight that was total to mild. Replant the first parent plant back from and fill around the location that is bare with compost or s Oil.